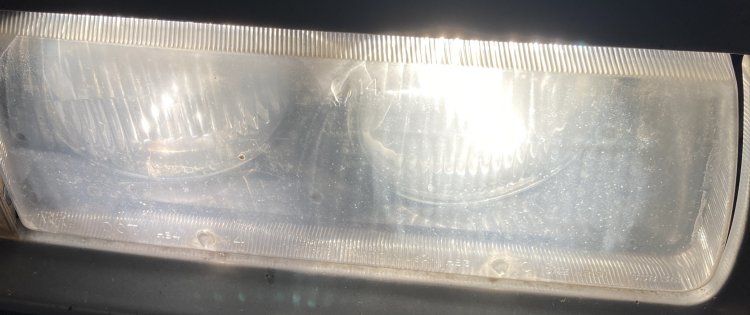
One of my low beams burned out around the start of the month; since I am incapable of doing anything without spiraling I decided to replace all my high beam and low beam bulbs at the same time (major thanks to Rock Auto, I bought four new bulbs for what the local parts stores wanted for one). Anyway, while I waited for my new bulbs I took a look at my headlights and did not like what I saw - yellow, cloudy housings that would definitely hinder the efficacy of the new bulbs I'd ordered.
The funny thing is, I'd already restored these housings a couple years back - I even paid more for a 3M kit so I wouldn't be in this exact situation. Facing the result of my hubris, I decided to conduct a bit of YouTube research for a restoration process that would keep my housings clear for longer.
The first videos I found said practically any clearcoat for paint with UV protection was fine to use on headlights; the next ones suggested 2K clearcoat was optimal. [1] Eventually I found a channel from a guy who talked a big game but seemed to do a lot of personal experimentation to find the optimal process; I decided to slightly modify his dry sanding restoration process video to use on my housings:
Step 0
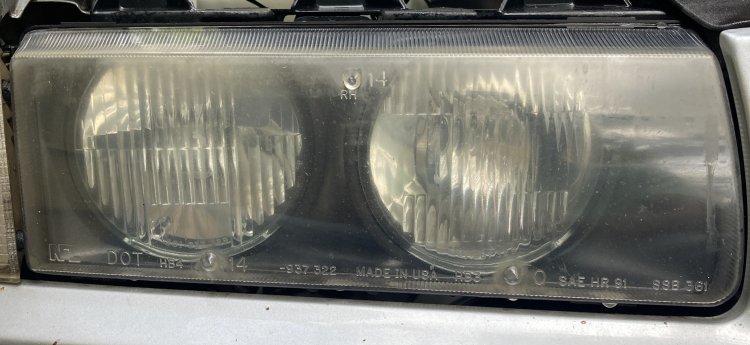
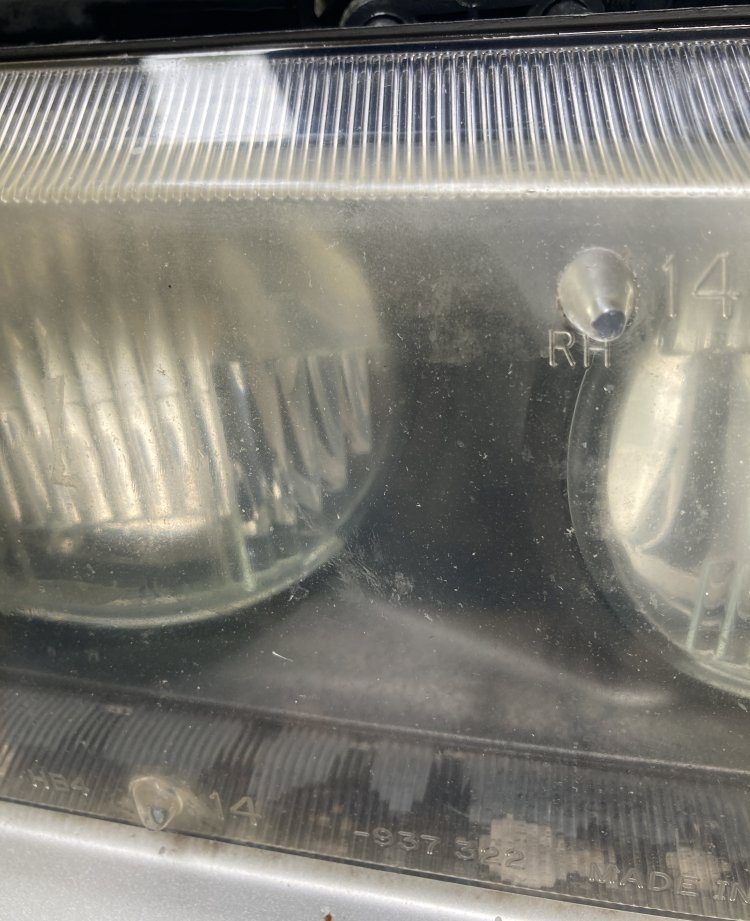
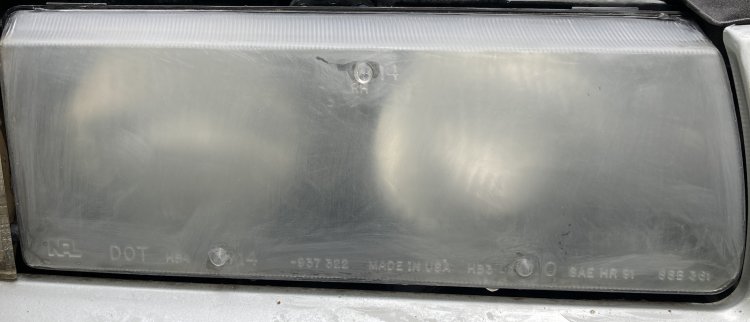
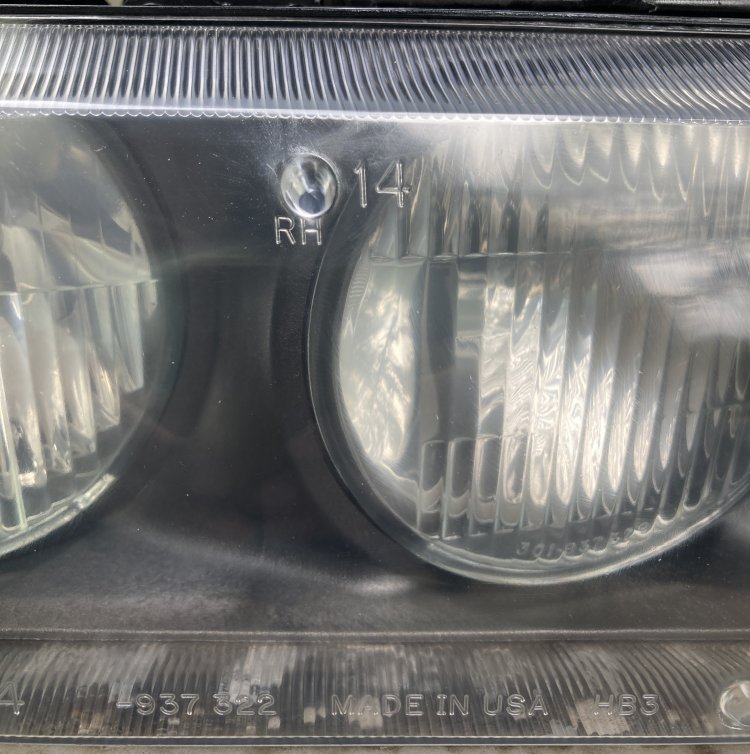
Before beginning the restoration, I cleaned my housings with some glass cleaner and rinsed off any excess before towelling them dry; looking closely I was surprised how scratched and cloudy they'd become only a couple years after the last restoration, especially the extra-cloudy section at the top of the housing. [2]
Step 1
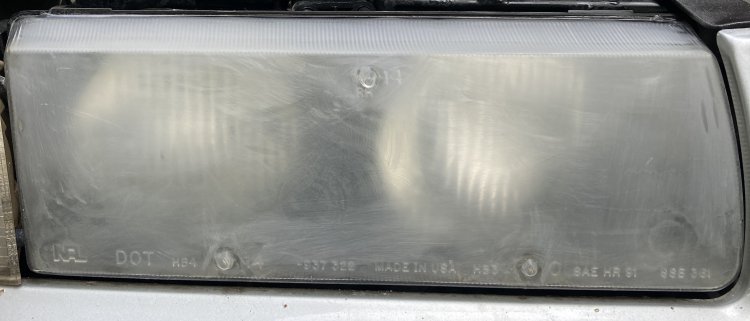
I began the restoration by sanding the housings with a 3M P500 sandpaper pad attached to a drill; this step removed the coating from the previous restoration while leveling the housing face. After getting most of the housing using the drill, I hand-sanded the places too tight for the drill to reach without marring my paint; once I was satisfied I rinsed away the sanding residue and dried the housing off before continuing.
Step 2
Next was another round of sanding, this time with a 3M P800 sandpaper pad. Like the last step I sanded most of the housing with the pad attached to a drill, finishing up with the pad by hand for the tight spots. Once I was satisfied I rinsed the housing again.
Step 3
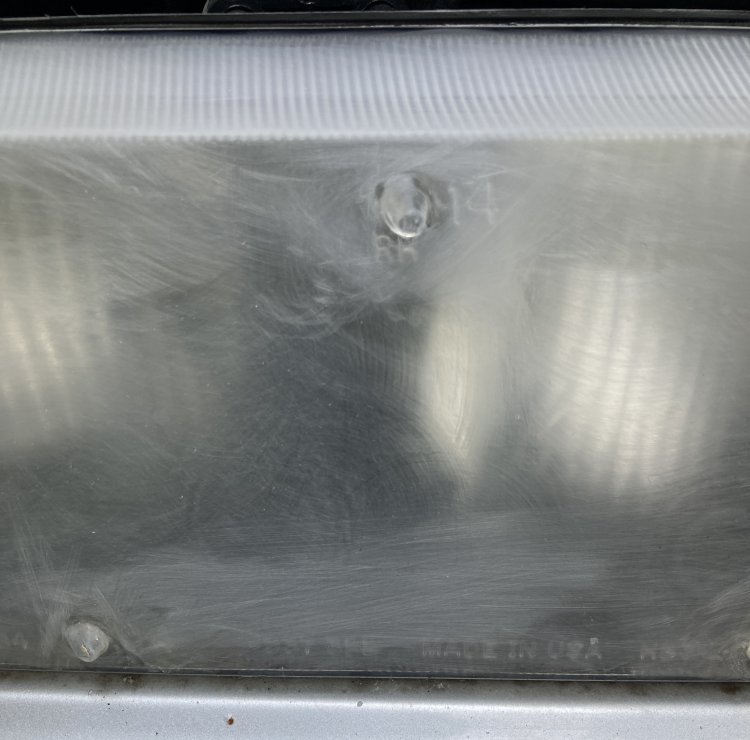
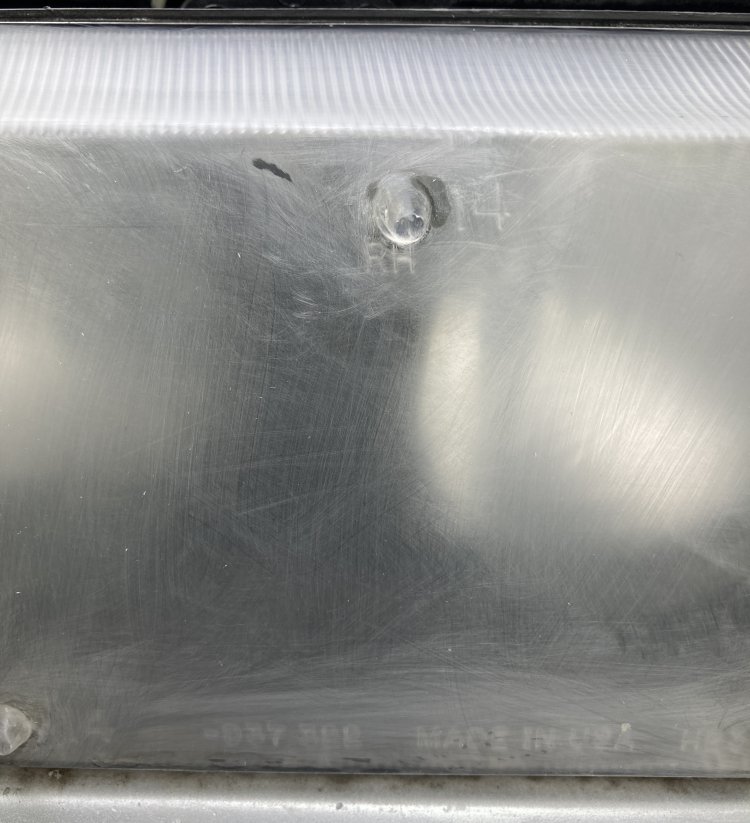
Next was the final sanding step, but wet-sanding with a 3M P3000 Trizact is a lot closer to buffing than sanding. Since the pad was unlikely to mar my paint I decided to try using the drill in tighter spaces over using my hand, to adequate results. [3] I'd forgotten what the P3000 pad did to my housing last time I used it, so seeing it happen again was neat. Once I was happy with my wet-sanding, I cleaned, rinsed and dried the housing to prepare for the next step.

Step 4
At this point I haven't done anything differently from the last time I restored my housings, so now is where I expect the YouTuber secret sauce to pay off. Applying a quarter-sized amount of Chemical Guys Headlight Restorer compound onto a 3M Finesse-It pad, I dabbed the compound all over the housing to prevent it flinging all over. After letting the compound sit on the housing for about 30 seconds to soak in I buffed it in with the pad, and I'd be lying if I said I wasn't wowed by what is essentially a second buffing step could do. At this point I gave the housing a quick wipedown and moved to the final step.
Step 5
Lastly I applied a headlight sealant/protectant; I chose Meguiar's Keep Clear because that's what was used in the video I saw. I didn't think the sealant would have much of an effect on freshly-restored housings, but I did notice some additional clarity after application.
Epilogue
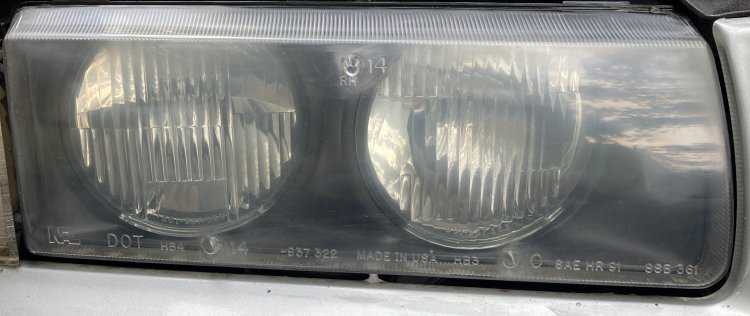
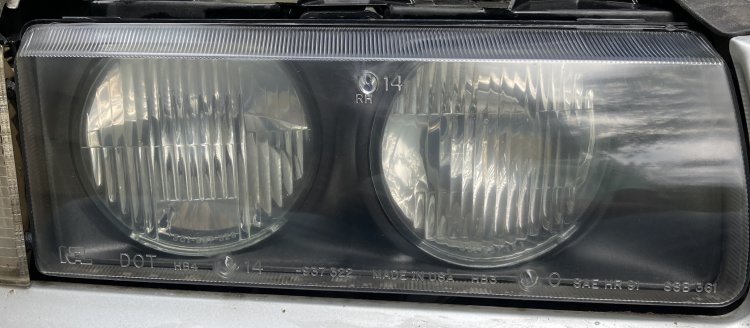
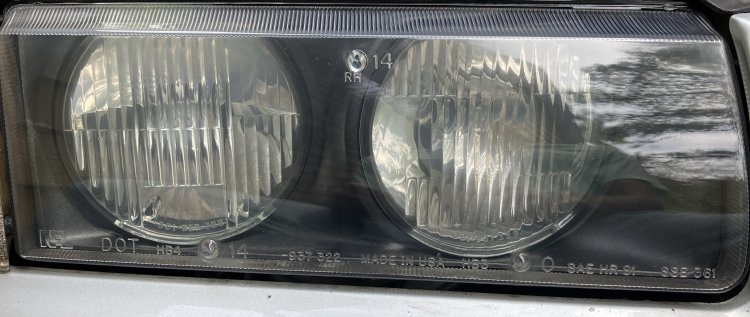
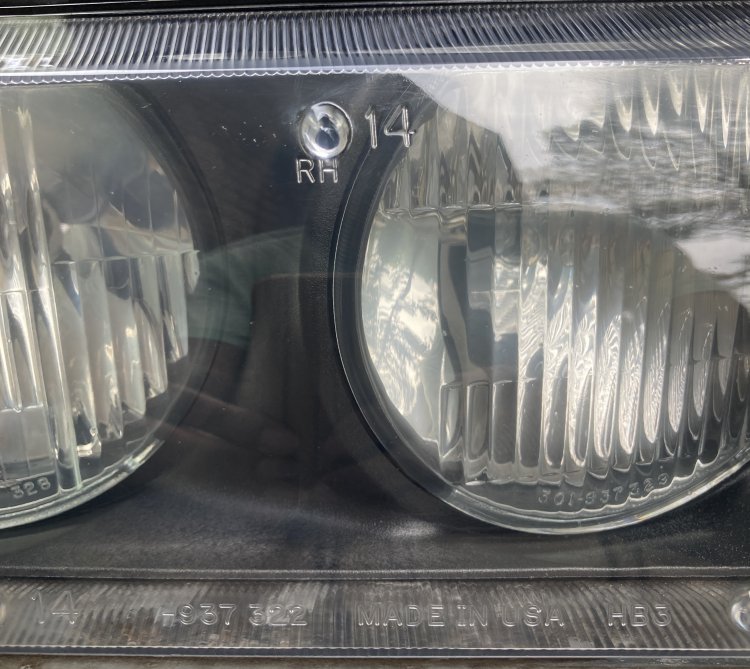
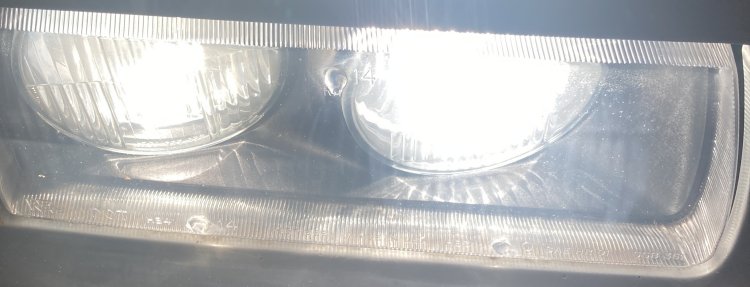
I'm quite pleased with the results of the new process; I think they speak for themself. I unfortunately deleted the pictures from the first time I restored my housings so I can't make a direct comparison, but I don't think my first attempt turned out as well. With the new bulbs the difference is clear, now all that's left is to wait a couple years and see how things held up. [4]
| [1] | Although 2K clear is apparently pretty nasty stuff and I'd need a respirator while using it |
| [2] | Some is likely due to track days I've run, but I don't think most of it is |
| [3] | It didn't hurt that my paint was already pretty scuffed |
| [4] | Pun 100% intended |